We all like rewards, instant gratification is a sure reward. Here, at "katecreativesalvage" we will give you a chance on the biggest giveaway on blogland
Tomorow, we will announce it, stay tune and have a blessed Sunday
martha

My Blog's mission is to inspire and encourage friends and followers to take risks in decorating, painting, transforming vintage and discarded items into beautiful ornaments for our homes. I hope I can be of help and inspiration to all my followers. I am a self-made decorator, and have not formal training in designing or decorating, however, by sharing we learn from each other. Enjoy, grab a cup of tea or coffee and have fun.
Sunday, July 31, 2011


Thursday, July 28, 2011
Antique book pages wreath's tutorial
 |
| Now you are ready to attach the first layer of rolls. |
I'm on a roll tonight, I need to post some overdue tutorials. This is another of many different wreaths that I have made with my antique falling apart books. (I don't believe in using books until they are beyond repair, believe me!!!) You can make these wreaths with paperback's books from the Good Will, just make a big bowl of tea, I will show you how to antique the books in another tutorial, easy!!
Well, this wreath is a little labor intensive at the end, the beginning is very easy. You will need:
1.Book pages, of an old, very shabby, distressed book.
2. Our best friend (glue gun).
3. a roll of twine.
5. A wire wreath.
6. ribbon or burlap for hanging.
First of all, tear the pages of the book, and make 120 rolls, tie them with twine.

 |
| This is the third layer, bundles of rolls!!! |

 |
| Finished wreath on my mantle |
 |
Fill the basket, my daughter helped me with this, she liked it while we watched TV. Now you are ready to put your wreath together, this is not hard, but you need to be patient, it takes about one and a half hour, sometimes, more because you are not gluing but tying the rolls to the wire form, and arranging it. After the first and second layer is all tied to the form, start gluing two or three rolls together and attaching them on top of others. When your wreath looks full, you can add cut outs of the printed pages, like butterflies, hearts, flowers and glue them on top for some texture. I used a brown satin wide ribbon, but burlap ribbon looks very organic and nice also. Enjoy your wreath. (I need to warn you that this is a delicate wreath, it doesn't travel well). Remember the first and second layer is tied to the form with twine. It looks stunning in your living room or office. Everyone admires my wreath when the come to my home. You will love it. Hope you had fun.  |
Wednesday, July 27, 2011
Roses wreath Tutorial
This antique book pages roses wreath is very impressive,this one is a 6" wreath, a small one, I had made bigger ones, and they look stunning. This one is perfect for weddings, small walls,
or mixed with other vintage frames. I will show you how I used this one in my home.You will need a Styrofoam 6" wreath, an old book, an

or mixed with other vintage frames. I will show you how I used this one in my home.You will need a Styrofoam 6" wreath, an old book, an
 |
| You need a 6" small Styrofoam wreath , a hot gun, an old book, or just a book from the thrift store. I used a very old book, make sure the pages are not too fragile otherwise your spiral will be difficult to fold. |
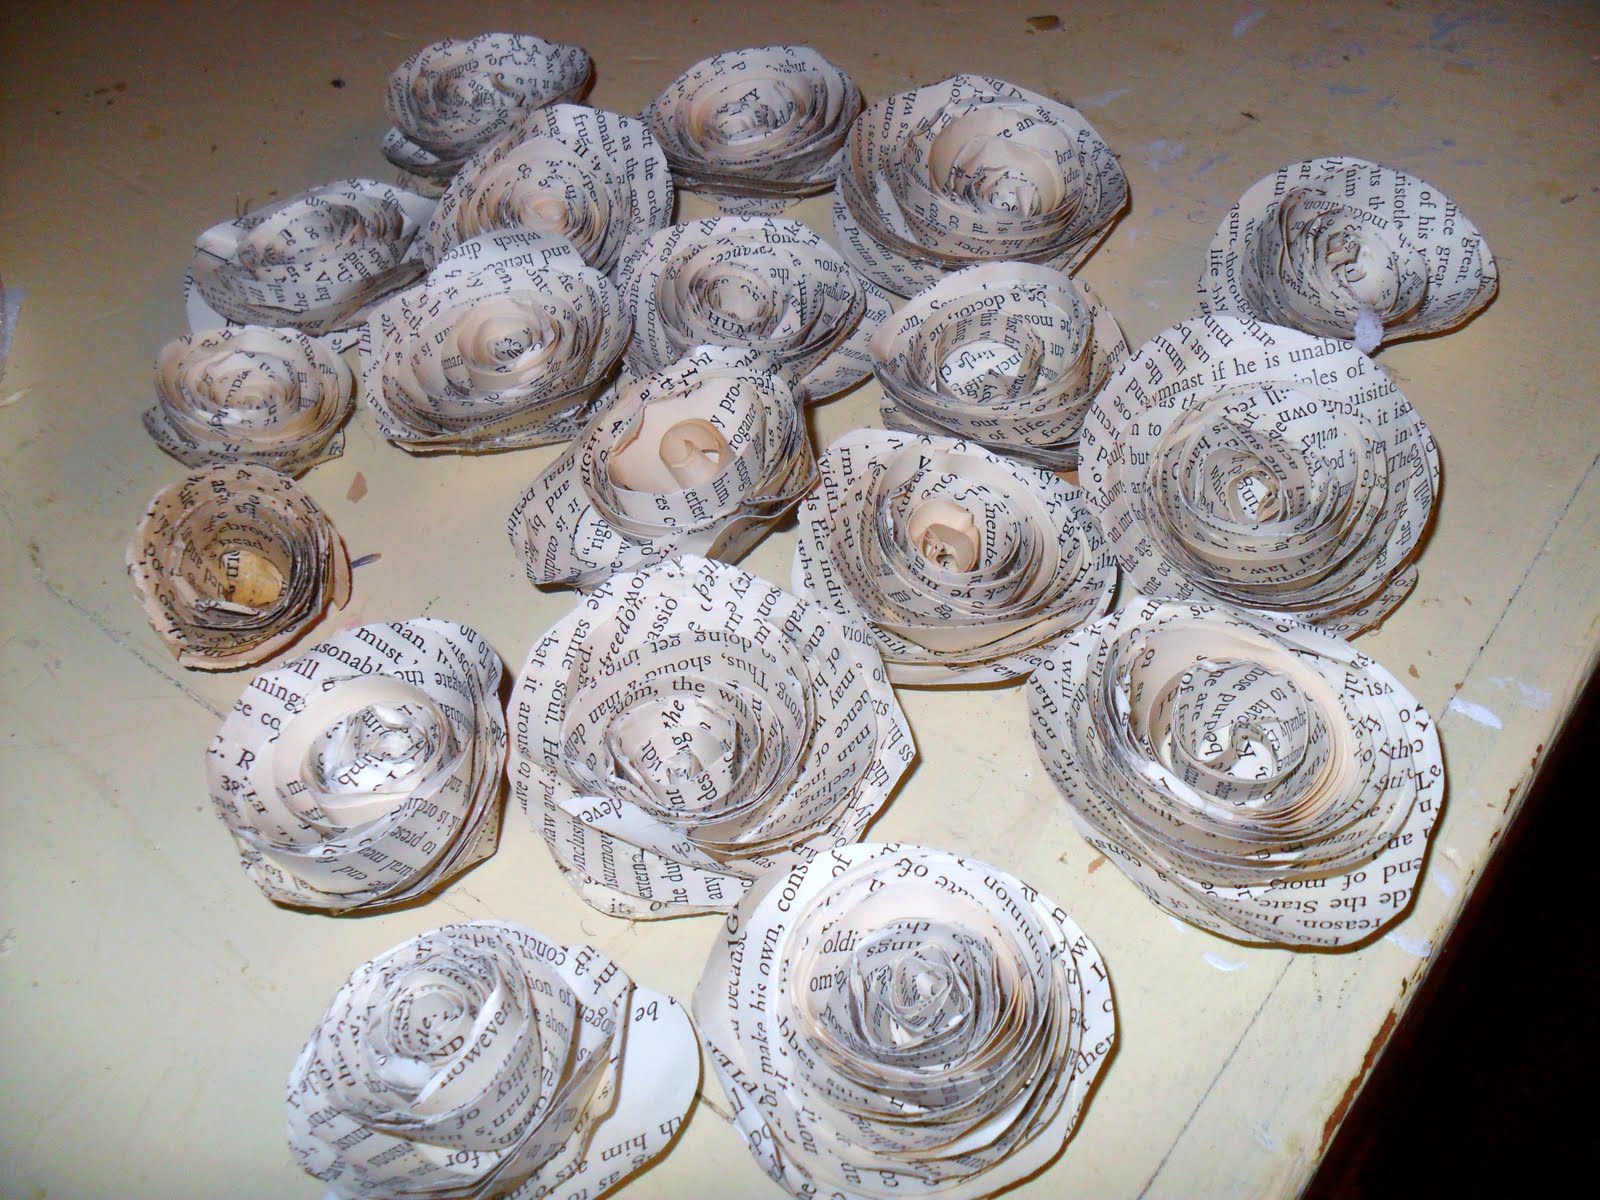 |
| You need about `15 large roses and about 8- 10 tiny ones |
 |
| First Step: Make your roses, just put on your favorite movie, and make little and big roses. |
 |
| Cut your pages into 5" squares for large ones and 4" for the small ones |
 |
| Make a spiral , I made it with a sharpie for the picture, but you need to make them with a pencil. You can draw wider or thinner spirals (caution the thinner and larger the spiral will make smaller roses, just play with it first). I'm so used to make the roses that I don't trace them anymore, but when I first stared, I traced and traced, ha ha. |
 |
| Cut your spiral, don't worry about the lines, it is suppose to be imperfect, remember this is an antique wreath. |

 |
| Keep going to the end, this is an important place. |
 |
| Don't cut the end, this is going to be the base of your rose. Be patient!! this is not a fast project. but oh so rewarding. |
 |
| Now take YOUR SPECIAL TOOL tweezers and tightly hold the end and begin rolling!!!!tight, very tight and slowly. |
 |
| Don't let go you are almost done!!!! |
 |
| Let go gently and play with the petals, look at your beautiful rose. Glue the base remembered and glue a loose petal, just play with it, gently |
 |
| Place your first layer on your wreath, and make sure you like the way it looks. Then start gluing, and "ouch" its hot, but we need the glue gun. |
 |
| You are done with the first layer. |
 |
| This is the bigger version about 14" in diameter. |
 |
| Second layer on the inside. For this part I usually hold the wreath and then place the little roses making sure I covered all the empty spots. Remember you are going to hang this on a chair, pew, or wall so you don't see the back. When you are all done placing the second layer, place a ribbon with a bow, or a piece of hemp thread, to hung it. Its up to you, YOU DID IT!! said "Dora" You are done, GOOD JOB, |
Magic, with Annie Sloan Chalk paintTUTORIAL
Hello friends:
Ready for some fun with chalkpaint. Let' get crakling. It is like magic..
First of all, you need a few tools, average things we all have.:
1. a hair dryer
2. a paint brush
3. chalkpaint
4. gloves
5.dark wax


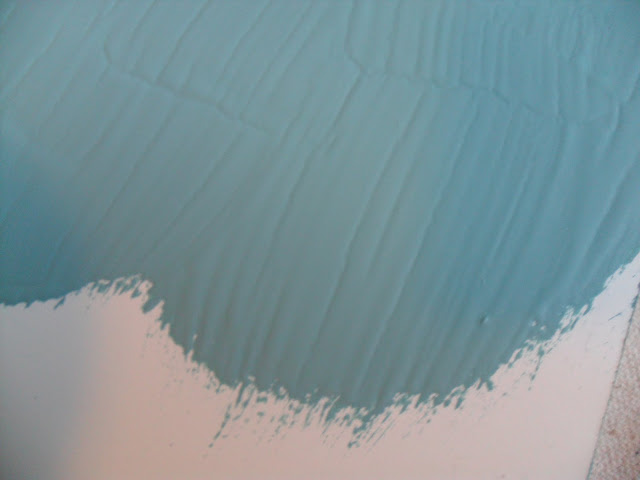
Apply the paint don't spread it, just apply it in a small place




Ready for some fun with chalkpaint. Let' get crakling. It is like magic..
First of all, you need a few tools, average things we all have.:
1. a hair dryer
2. a paint brush
3. chalkpaint
4. gloves
5.dark wax


Apply the paint don't spread it, just apply it in a small place
 |
| DO NOT SPREAD THE PAINT OUT!!!! |
Take your hair dryer and make little circles, and cook the paint
you will see little crackling going on, that is it. You can see it better in this other color, I used a light color "Provence" hard to see.
Wait until the paint is dry, and apply the dark wax to reveal your crackle, very easy, and you don't need the glaze.


 |
| These pictures are before I applied the dark wax, sorry about the colors. But you can really see the crackle in this one and on the others. I just did it on boards to show it. |
 |
| You can see it better here.Then turn on your magic |
Keep blowing in gentle circles over the paint
and in a short time the paint will begin to crack.
We will have a great giveaway, keep reading my blog, we are CELEBRATING
Have a great night.
martha
Subscribe to:
Posts (Atom)