
or mixed with other vintage frames. I will show you how I used this one in my home.You will need a Styrofoam 6" wreath, an old book, an
 |
| You need a 6" small Styrofoam wreath , a hot gun, an old book, or just a book from the thrift store. I used a very old book, make sure the pages are not too fragile otherwise your spiral will be difficult to fold. |
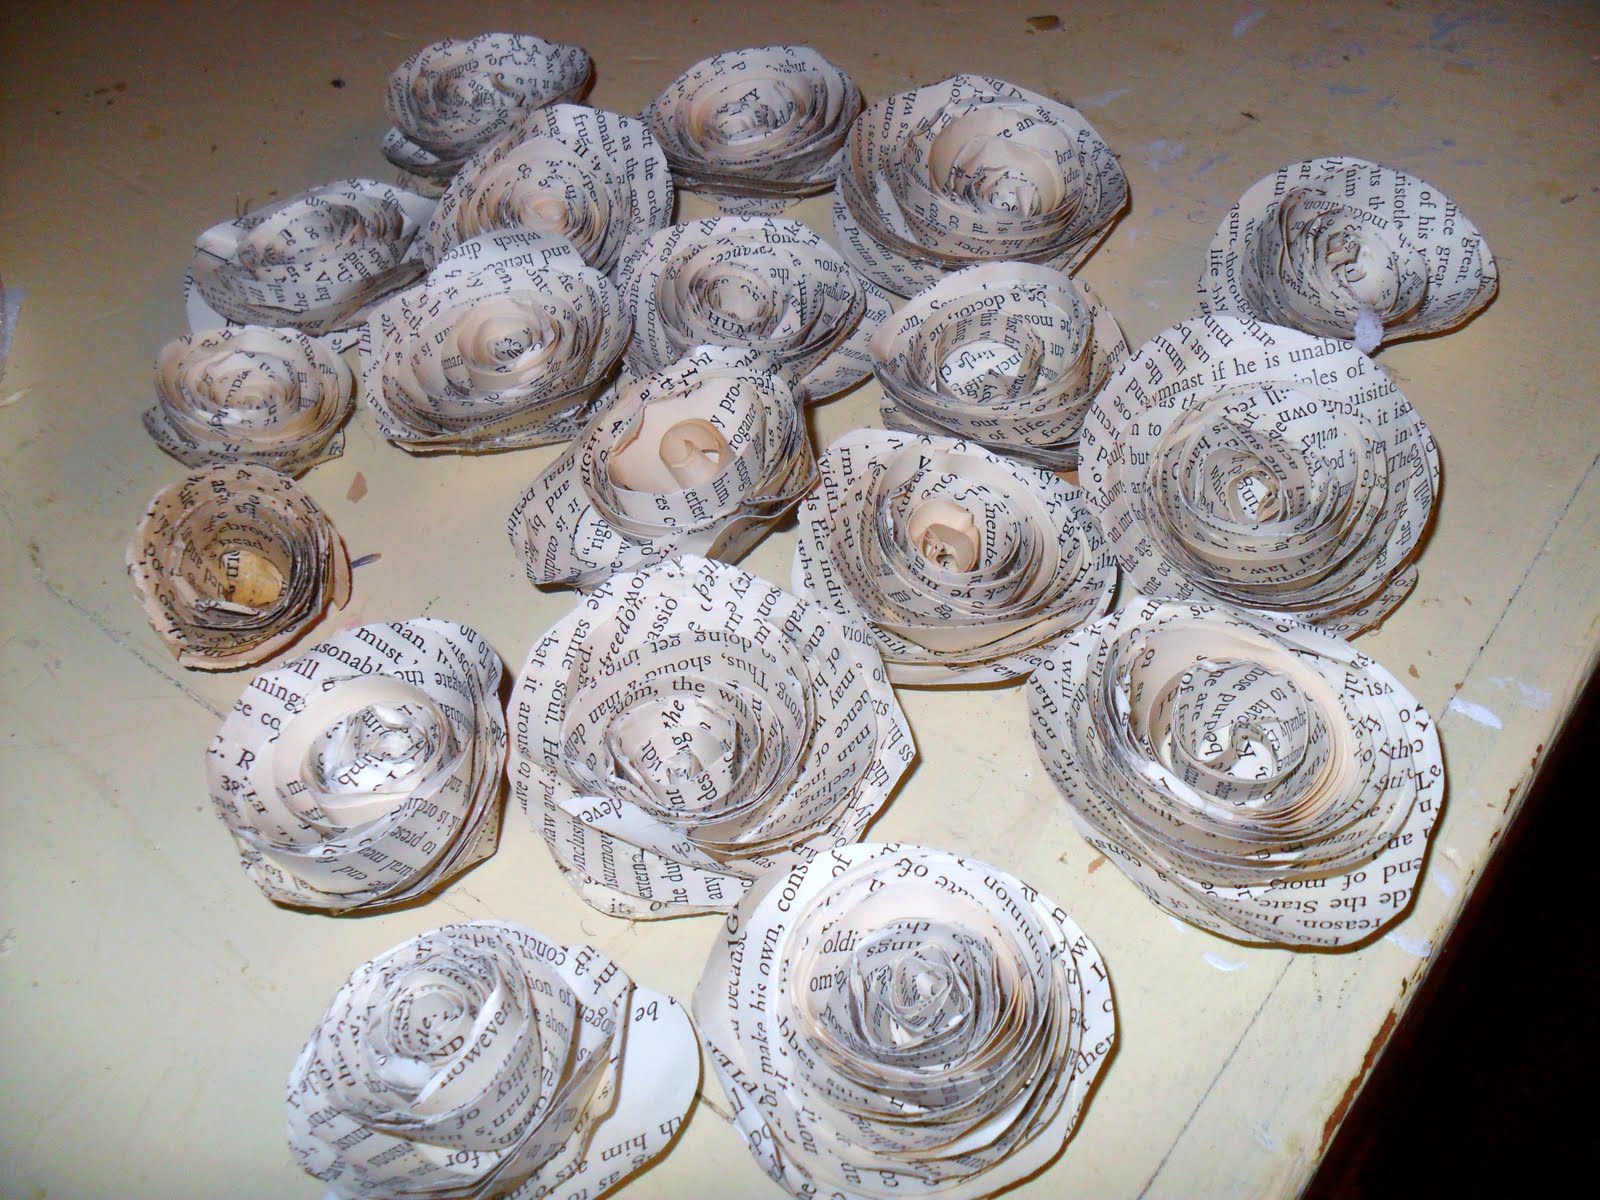 |
| You need about `15 large roses and about 8- 10 tiny ones |
 |
| First Step: Make your roses, just put on your favorite movie, and make little and big roses. |
 |
| Cut your pages into 5" squares for large ones and 4" for the small ones |
 |
| Make a spiral , I made it with a sharpie for the picture, but you need to make them with a pencil. You can draw wider or thinner spirals (caution the thinner and larger the spiral will make smaller roses, just play with it first). I'm so used to make the roses that I don't trace them anymore, but when I first stared, I traced and traced, ha ha. |
 |
| Cut your spiral, don't worry about the lines, it is suppose to be imperfect, remember this is an antique wreath. |

 |
| Keep going to the end, this is an important place. |
 |
| Don't cut the end, this is going to be the base of your rose. Be patient!! this is not a fast project. but oh so rewarding. |
 |
| Now take YOUR SPECIAL TOOL tweezers and tightly hold the end and begin rolling!!!!tight, very tight and slowly. |
 |
| Don't let go you are almost done!!!! |
 |
| Let go gently and play with the petals, look at your beautiful rose. Glue the base remembered and glue a loose petal, just play with it, gently |
 |
| Place your first layer on your wreath, and make sure you like the way it looks. Then start gluing, and "ouch" its hot, but we need the glue gun. |
 |
| You are done with the first layer. |
 |
| This is the bigger version about 14" in diameter. |
 |
| Second layer on the inside. For this part I usually hold the wreath and then place the little roses making sure I covered all the empty spots. Remember you are going to hang this on a chair, pew, or wall so you don't see the back. When you are all done placing the second layer, place a ribbon with a bow, or a piece of hemp thread, to hung it. Its up to you, YOU DID IT!! said "Dora" You are done, GOOD JOB, |


