Translate

Thursday, July 26, 2012

Great Stylists

How to display our collections:

We are lovers of antiques, used books, brown paper, scissors, bottles, frames, spools, twine,
pictures, old candelabras, antique pictures, tools, old rusty scissors, old suitcases, quilts, french chairs, stools, handmade pillows, flour sacks,coffee sacks, cameras, and more, more, more.
Have you ever called a "hoarder", or maybe borderline, oh yes, I've called that and worst. But
relax, there is hope, we can keep our treasures
in a way that we can enjoy looking at them, and
we don't give the appearance of a "hoarder".
Pay attention to these shelves, its a lot of small but beautiful treasures.
I love my "stuff", but I hide a lot of things when company arrives, because of the "hoarder stigma"
Too bad, my home is my only refuge and I like to 'look at my painted furniture and my treasures.

A great NY Stylist tells us how she deals with this
subject. 


Eccentric??  oh yes, how many people you know that hang old feathers on their walls, LOL
She style and designed the famous hotel "

4
THIS IS HER KITCHEN VERY WELL EQUIPPED!!!!
(SOME PEOPLE WOULD SAY ITS CLUTTERED)
This is the entrance to her store in Sydney.

Love the books, and some people would call
 these wall "clutter"  Beautiful


Sybella Court is the author of a wonderful book "Etcetera"  gorgeous rooms with
style.  and she wrote another book "The stylist guide to NYC"  it comes out in August, a little preview:


This is the most beautiful shop I have ever been, she changes her theme every few months, and
its so so well done, you just want to live there and stay, not only shop.


This is a combination bedroom/living room/library.


Her bedroom


Clutter ???? or beautiful collection????


Hope you enjoyed these talented stylist shop and home, and don't be afraid to collect treasures, life
is beautiful when every item in your home has a little history and character,

Martha

Wednesday, July 25, 2012

NEW TRENDS

Good Morning:

Today I was inspired by some new trends on Etsy.
Love the new furniture pieces and other architectural, vintage, organization, new trends.  I'm sharing with you my favorites, you can find them all on Etsy, and I hope you enjoy it. 

Trends:  lights  (like mine with the insulators, jars, and I'm working on two more, since they sold so fast.

crates, I have a lot of them in my shop, love them.

jars:  for storage, I use them for everything.

and of course, the furniture, just so unique.

Petite Chair with French Print Seat CoverRound Coffee Table ..  Hand Painted in a beautiful floral in Blues and Greens 
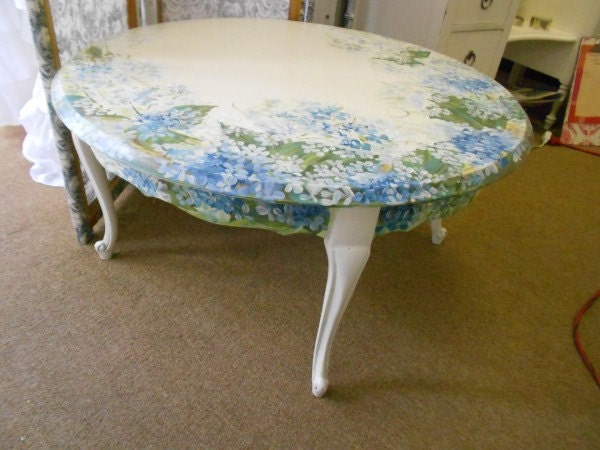
These pieces are both from Not Too Shabby,  this girl can paint, look at the hand painted table, just beautiful, visit her shop.

Vintage Patchwork Channel Tufted Chaise Lounge


These is ART FOR YOUR HOME.  I want this chair so bad, I'm shaking, its just awesome, $5500.00
just great go to "Vintage Renewal on Etsy"  she has beautiful art chairs, and lampshades.  Love them!!!

The New Yorker Decorative Side Chair  
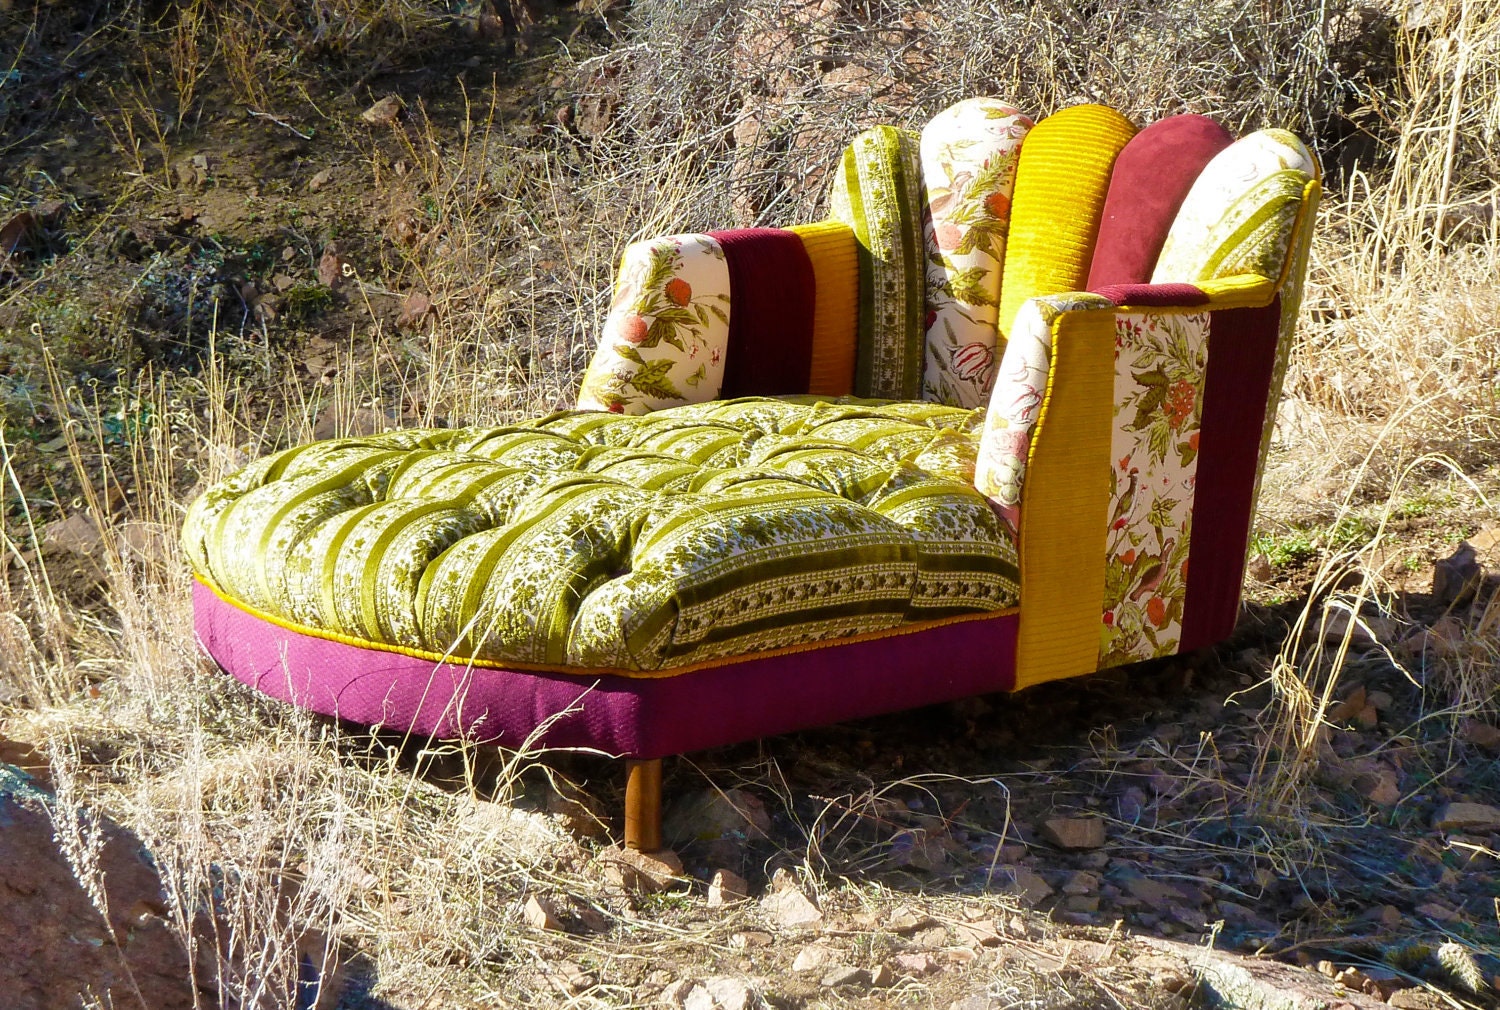
A great handmade chair with the New Yorker magazine adds,
so so cool, a truly conversation piece.

  Awesome!!!! still in trend.

Victorian Folding Chair with Fabric Seat 
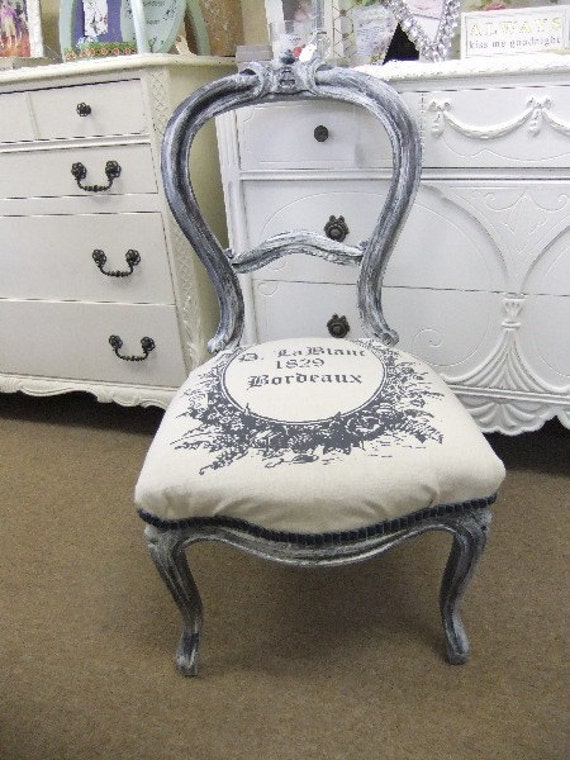
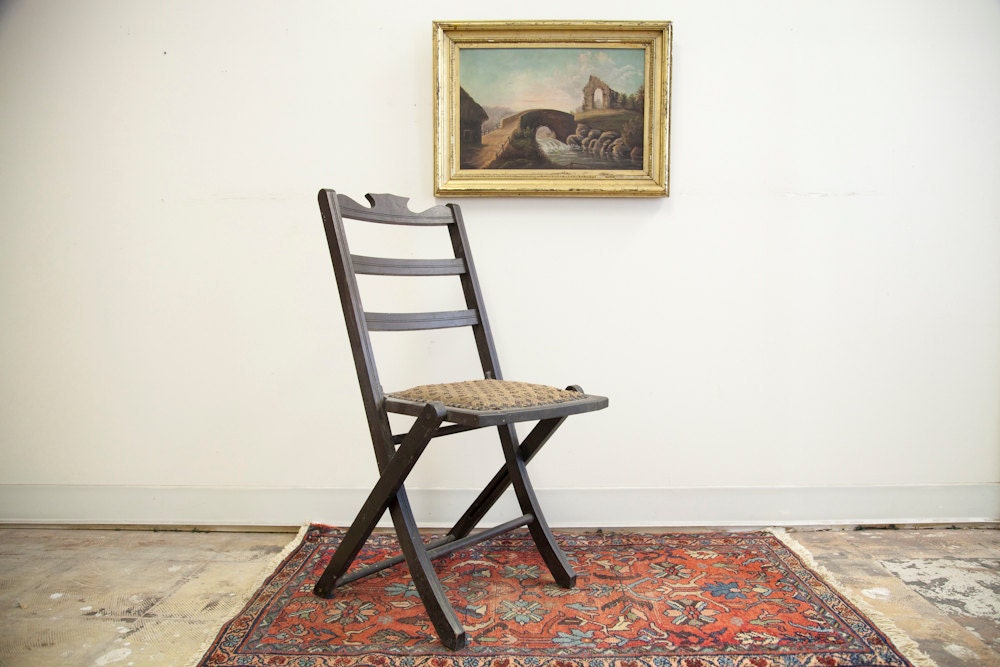
Victorian folding chair with a fabric seat, from "old new house" on Etsy.

1st Production PAW Rope Edge Elephant Hide Grey Zenith Swivel Chair
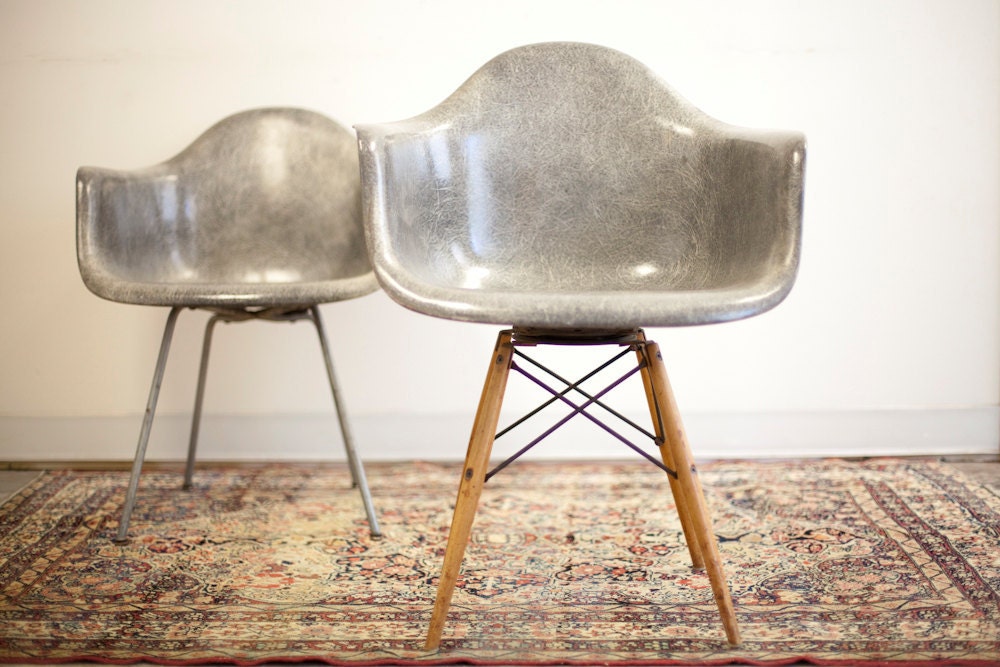
Herman Miller 1st. production rope chairs, just to die for, very very expensive but oh so much character and beauty,  from "oldnewhouse on Etsy"

1st Production PAW Rope Edge Elephant Hide Grey Zenith Swivel Chair 
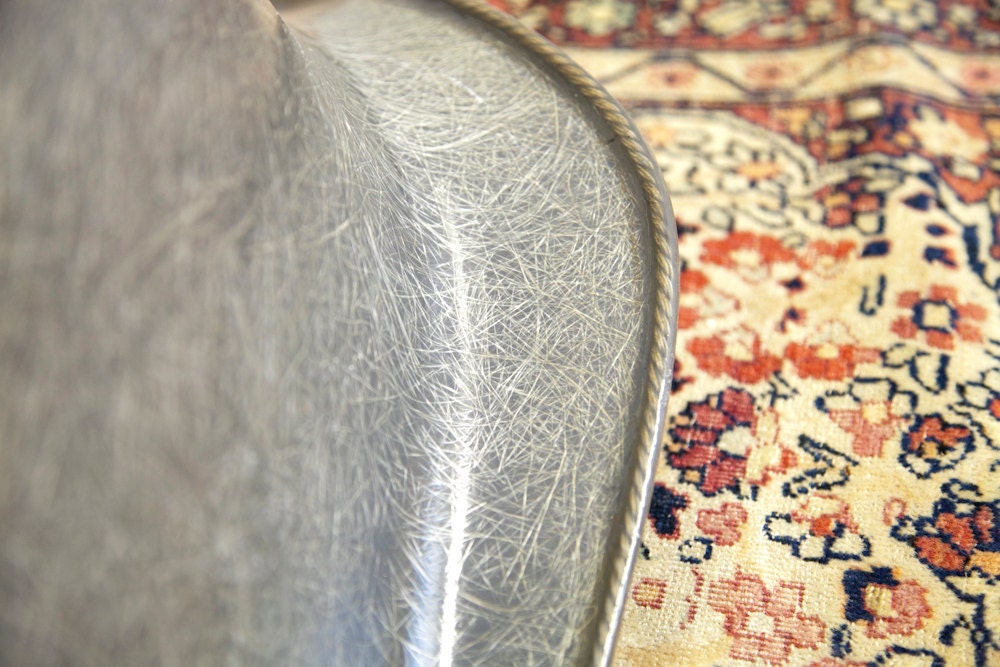
This chair is called the "Paw" 1950 Zenith HM swivel chair.  just gorgeous and pricey$5500.00  (you have to paint and sell a lot of bureaus and
tables to afford this  LOL).
These are beautiful, you can find a similar one in my shop and I'm making three other styles, they are so cool!!!!,  go to my shop katecreativesalvage@etsy.

EAT PLAY LOVE Wood Sign Handpainted Vintage Style Red
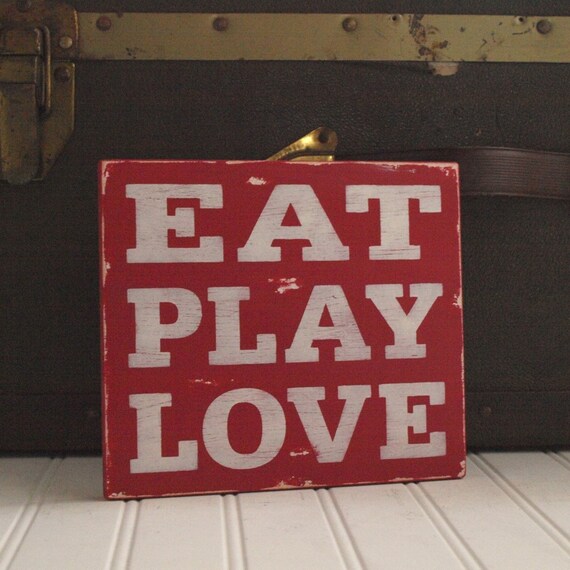
Of course all kinds of signs are still trendy, just very rustic and organic, distress, and oh so vintage.

I hope you got so inspired that you are already imagining your next vintage trendy project,

Have a wonderful day,

martha

Monday, July 23, 2012

Homemade Chalk Paint

I found these great recipe on how to make your own chalk paint and save lots of money.  It does a beautiful job for pennies.

Elizabeth & Co took her Annie Sloan color chart and they match the color exactly. I had them match my Loui Blue and they made it into a paint so exactly that I was surprised, just $3.99 against
$38.00 plus shipping a quart.

She uses an easy recipe:
Plaster of Paris and paint.
You do not have to measure precisely and here's an easy way to do it. Mark four equal lines on a clear plastic container. Add Plaster of Paris to reach the very first line. Then mix in about a tablespoon of water at a time until the Plaster of Paris is nice and smooth. You don't want any lumps. Then fill to the top line with paint and stir well. Super easy! I've found that if you don't mix the water into the Plaster of Paris first, the paint sometimes ends up gritty and no matter how much water you add at that point, you just can't get rid of the grit. And different brands of paint are thicker than others, so just adjust as needed. And just like regular chalk paint, the homemade version will thicken as it sits, so just add more water as needed.


Look at the dresser, just beautiful and much much cheap, you don't have to prime just make the paint
and go for it.  Just gorgeous.  This color is Behr "Lotus Blue"  like the "Oak Duck Blue" difference in price.  She has been making her own paint and colors for months now.
Let's all try it and compare.


Liz Marie found these dresser on the trash and look what she did, a gorgeous job for pennies.
Chalk paint from Annie Sloan is very expensive this is the same thing and you can make your own colors with the acrylic paint.

Okay girls here are two of the easiest recipes I found.  Enjoy,

Martha


Thursday, July 19, 2012

Inspiration with Trunks

Hello:

I love trunks, I have several, I use them to store
clothes, hide my craft materials, winter clothes, coffee table, but when I saw these beauties from the" Gypsy Barn", I had to share it with you.

A settee, very creative, make a seat inside with foam and in the back and voila, a settee. LOL
Turn the trunk sideways, remove the hardware and open the side, an instant hamper, LOL
Look what this intelligent girl did, amazing.
These trunks are everywhere but with the chunky legs, a new purpose and cheap.
All you need is four legs, and a drill. LOL


Love this photo prop, so creative, just add four
old legs or new ones, and sit on it carefully, she is
so slim and pretty. I don't think I could sit on it, could you???  love the idea as a prop thou,


Another sunken bench, with different materials, more rustic, and underneath storage for our stuff.

Very unique and clever.  I use trunks and suitcases
to store all kinds of stuff, so the rooms don't look
so clutter.  We DYI and crafters have lots and lots
of small things, paper, material, pictures, props for our pictures and this is a fun, creative way to organize and store the "stuff", I know how it is, I fill them so often and then some.  But I need the stuff, how would we do all the stuff we make without our supplies???

Enjoy the inspiration, happy Friday

Martha

Wednesday, July 18, 2012

CELEBRATION PARTY

Dear Friends:

I am so happy, we reached our  "200 th. follower. I am so thankful, and humbled, that 200 beautiful people follow my little blog. Bloggers are great people, usually professional woman, moms, that
have careers or had a career and now they enjoy a second part time career in DYI, decorating, painting furniture with Chalk paint, or latex, making cute chalkboards, pillows, signs, pinwheels, and much much more.  What I really like about bloggers is their creativity, ideas, guts,
and just good common sense.  Why buy new when
you can take something from the past, and make it
beautiful again?  I could never understand people
who buy "new".  I hate stuff from China, I'm sorry, but our furniture, lamps, dishes, rugs, etc.
has texture, character, and will save our earth.

Thank you for following my blog, I enjoy writing
and all of your comments.

I would like to thank one blogger that has helped me and encouraged me not to give up, her name is Denise, from the "Pink Postcard" blog, she is so talented, and sweet, we email each other and exchange ideas, thanks Denise, for being even we live in different coasts, we can be "friends".


I thank you from the bottom of my heart.  As you know I enjoy blogging is better than therapy.I'm not one to show all my dirty laundry, and I don't make any money with this blog, so its just fun,
and friendship with gals that like antiques, vintage
collections, junk, paint, crafts, and don't care if people call us names, and don't understand our obsession with the past.  But to find a little piece in such bad condition, then transform it into a great piece is fabulous


I'm working on this little table with lots of details.
It needs a lot of work, but after the "transformation"
its going to be beautiful.  I'm thinking white with
what else but blue accents, it has a lot of little
thingis everywhere.


Have a wonderful day,

Martha


Tuesday, July 17, 2012

Beautiful handpainted pieces!!

Dear friends:

I am amazed at this transformation, love it, Stacey from "Embracing Change" did a "similar" chest that
Marion from "Miss Mustard Seed" did about a few weeks ago.  Its just beautiful, she did it free hand or with a stencil, I'm not sure, but the end result is so sweet, I had to share with you.

  Stacey painted this chest and her
inspiration was this,


Pinned Image  This is a beautiful chest painted by Marion, but they are both just very nice.

I admired this stenciled floor, just beautiful:

word stencils on a floor

Another idea is this Morocan chicken stitch stencil, you can find it
here, this was in a Better Homes and Garden magazine,
http://www.royaldesignstudio.com/products/chicken-stitch-border-moroccan-stencil


furniture stencil with chalk paint
Love this stencil and paint job Annie Sloan chalk paint.


Great inspiration,

Martha

Saturday, July 14, 2012

Katecreativesalvage: From Trash to Treasure

Katecreativesalvage: From Trash to Treasure

Tutorials Pinwheels

Hello friends and happy Saturday. I have to apologize some of you were looking for the tutorial at the bottom of the page, but I forgot to link this page, what was I thinking, this is what happened when you blog late at night. I was on a roll putting a few tutorials together, the videos, and other things that I make so you can make them also. I don't mind sharing, but here it is, hope I link it right. Oh, I'm also trying to go to some parties, be a bit more "out there" its not my style, but in blogland is a what you are suppose to do.

One thing you can do is before you start spray your pages with a sealer to make them stiffer, I didn't because my pages were good. Also if you
like glitter, you can add it on the edges, but I don't like glitter that much, I like things organic, old,original, kind of things, the more "natural" the better.

I made the cute pinwheels and they are so cute, I wanted to share the tutorial with you. I hung them on an old frame I painted, and added some lavender, just for fun. I made some holes and threaded them kind of rustic and organic. You can
hang them with the little clothespin, this is just how I did it.


Materials:

You need: some book pages, ( I used some pages from an old book that is in bad condition)

You will need: scissors, the old glue gun, a ruler, small clothespins, ( I didn't have any, so I used a hole puncher, and made a hole on each one and thread it some old twine. Your choice.

This is a simple tutorial:

First of all cut your paper into a square 4" by 4"


I am a visual learner, sorry
for my light in this picture, but here you will fold the paper into
the two triangles.


Now, we have two triangles. Take the scissors and cut on each triangle line a little bit towards the middle. You will cut four times.

Now you are ready to fold your first triangle and put a dot of hot glue in the middle, be careful, don't get burned.

Now, make the next fold and glue a dot in the middle.


And you are done, very easy and cute.
Now, you need to decide if you want to use the mini clothespins or run a ribbon or twine like I did.
Just make about seven of them and you will have a beautiful unique pinwheel banner that nobody
else has in their home, feel proud and "make and display" you are a star. If you make one please
send me a picture and I will feature in my blog. A great idea is to make one for "Memorial Day"
red, blue, and white, I am motivated and might do one for the barbecue on Monday,

I hope you enjoyed the tutorial, and try it.


Blessings,

Martha

My Garden of Eden