Translate

Sunday, July 31, 2011

A little love...

Hi friends:

Sometimes love comes to us in the simplest ways. We had a little "party" to give someone some old fashioned "love" one of those "last minute" close friends only party.
It was a simple "I love you" party, and I wanted to share with you my two table settings.  I did it twice, and decided to go with the second one.  Here are some very quick pictures. I wanted to use a few fresh flowers, my old jars, my handmade tags, and a lot of white, thus, the plates, tablecloth, but I went with the basket, lavender, and vintage linens. 
My first table setting, very traditional with little old jars with daisies, antique plates with tan flowers, and antique little napkins with hand embroidered edges.

I wanted something different, this is the way my mom used to set the buffet table.

This is better, a basket, I got on sale from TJ, my white plates are a mix from Crate and Barrel and Pottery Barn, and two bunches of french lavender wrapped in silk ribbon. I inserted the old jars in the basket, and filled them with my own silverware.


I made this candle with vellum paper and a blue clay tag that says "love", and I decorated with my clay "amour" mini tags, like "confetti", I gave each of my friends one to take home as a favor.


My antique plates, but I changed my mind, I liked the white ones, you can see the border of my napkins, they are very old, but beautiful.

The cute little basket from TJMax on sale  for$10.00 Score

The tablecloth is from my collection, I seldom use it because it is very delicate with all the handwork, I bought it on Ebay about five years ago. I had it stashed in my cedar wedding chest.

Fresh lavender just got here to the Farm Market, I actually have it in my garden, but this year our plants are not doing well. So the bunches are from France, they smell so good. And they were only 5.00 a bunch. The ribbon was from my supply bag.

Good night friends,

martha

The reward

We all like rewards, instant gratification is a sure reward.  Here, at "katecreativesalvage" we will give you a chance on the biggest giveaway on blogland
Tomorow, we will announce it, stay tune and have a blessed Sunday

martha

Thursday, July 28, 2011

Katecreativesalvage: Magic, with Annie Sloan Chalk paintTUTORIAL

Katecreativesalvage: Magic, with Annie Sloan Chalk paintTUTORIAL

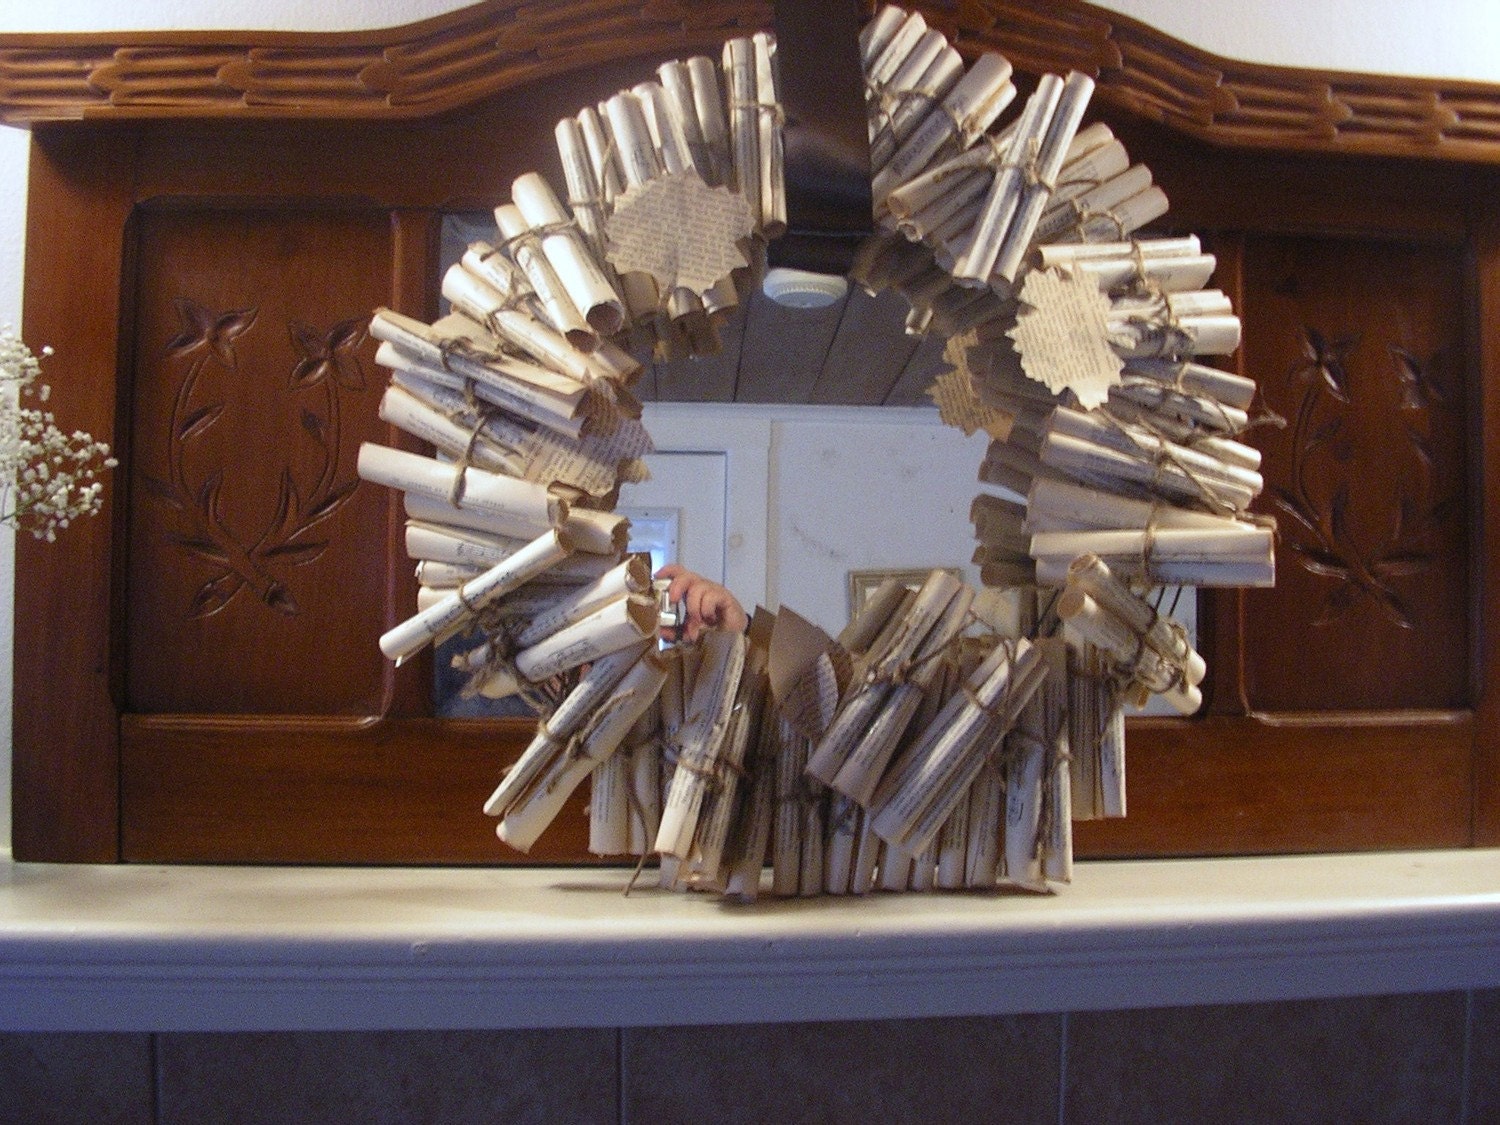
Antique book pages wreath's tutorial

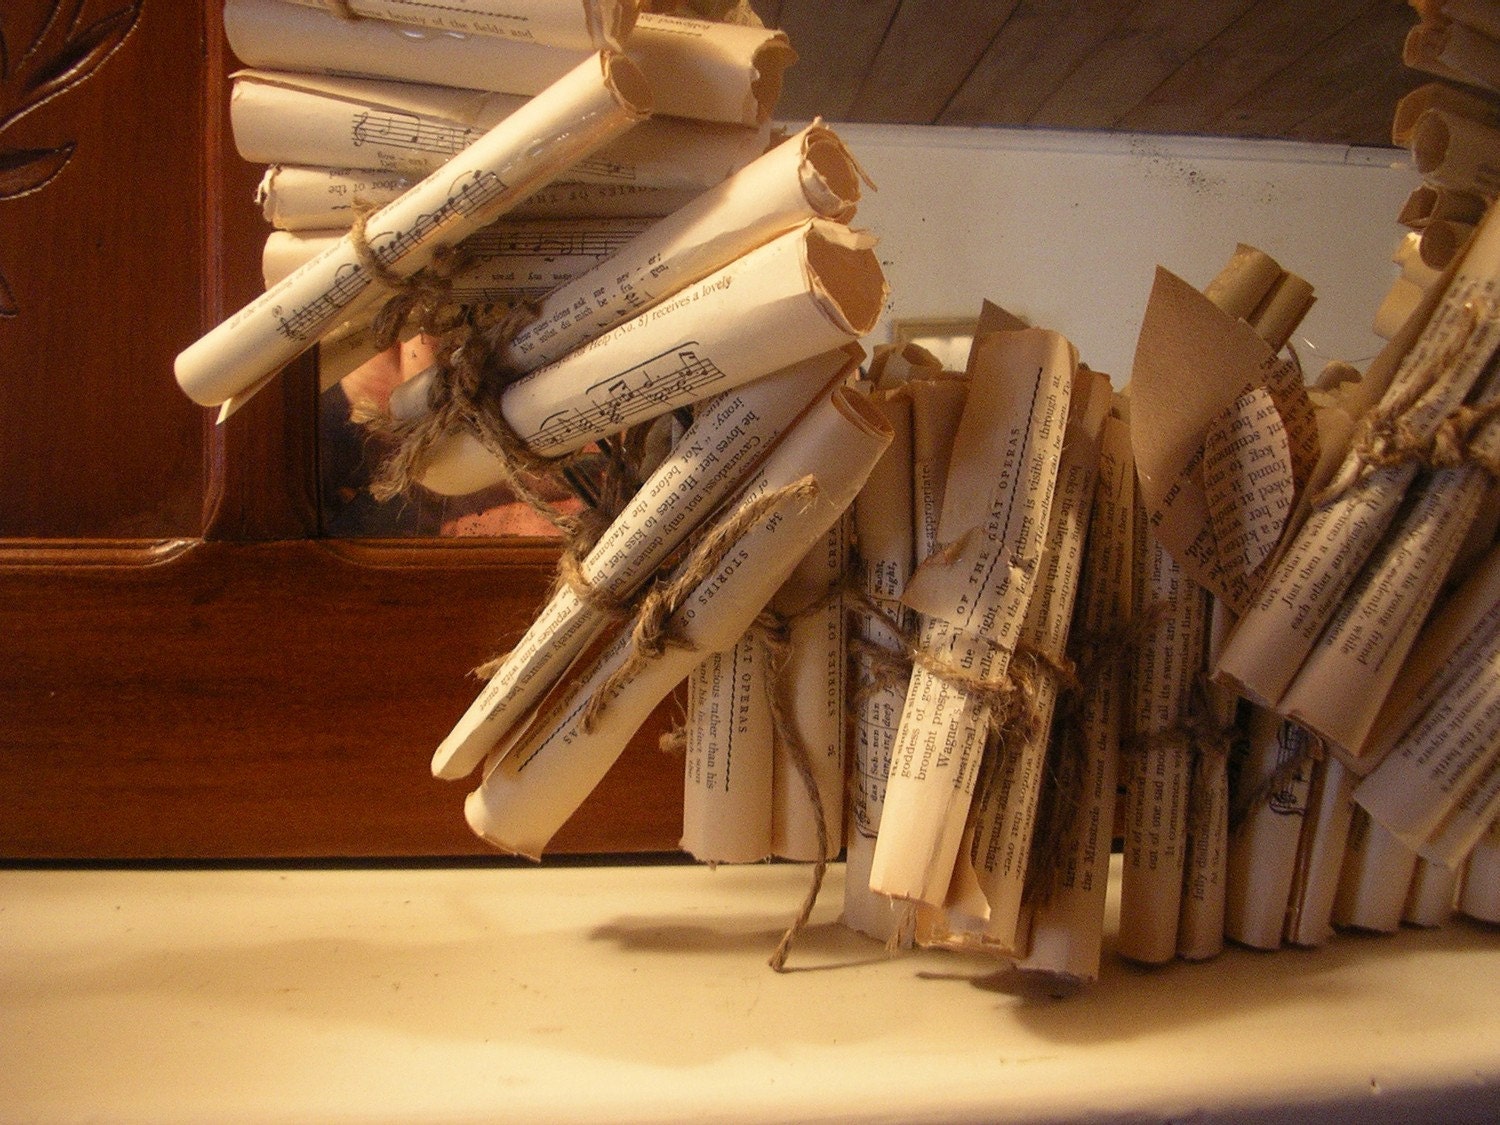
Now you are ready to attach the first layer of rolls.
Hello friends:


I'm on a roll tonight, I need to post some overdue tutorials. This is another of many different wreaths that I have made with my antique falling apart books. (I don't believe in using books until they are beyond repair, believe me!!!)  You can make these wreaths with paperback's books from the Good Will, just make a big bowl of tea, I will show you how to antique the books in another tutorial, easy!!


Well, this wreath is a little labor intensive at the end, the beginning is very easy. You will need:


1.Book pages, of an old, very shabby, distressed book.


2. Our best friend (glue gun).


3. a roll of twine.


5. A wire wreath.


6. ribbon or burlap for hanging.


First of all, tear the pages of the book, and make 120 rolls, tie them with twine.


This is the third layer, bundles of rolls!!!
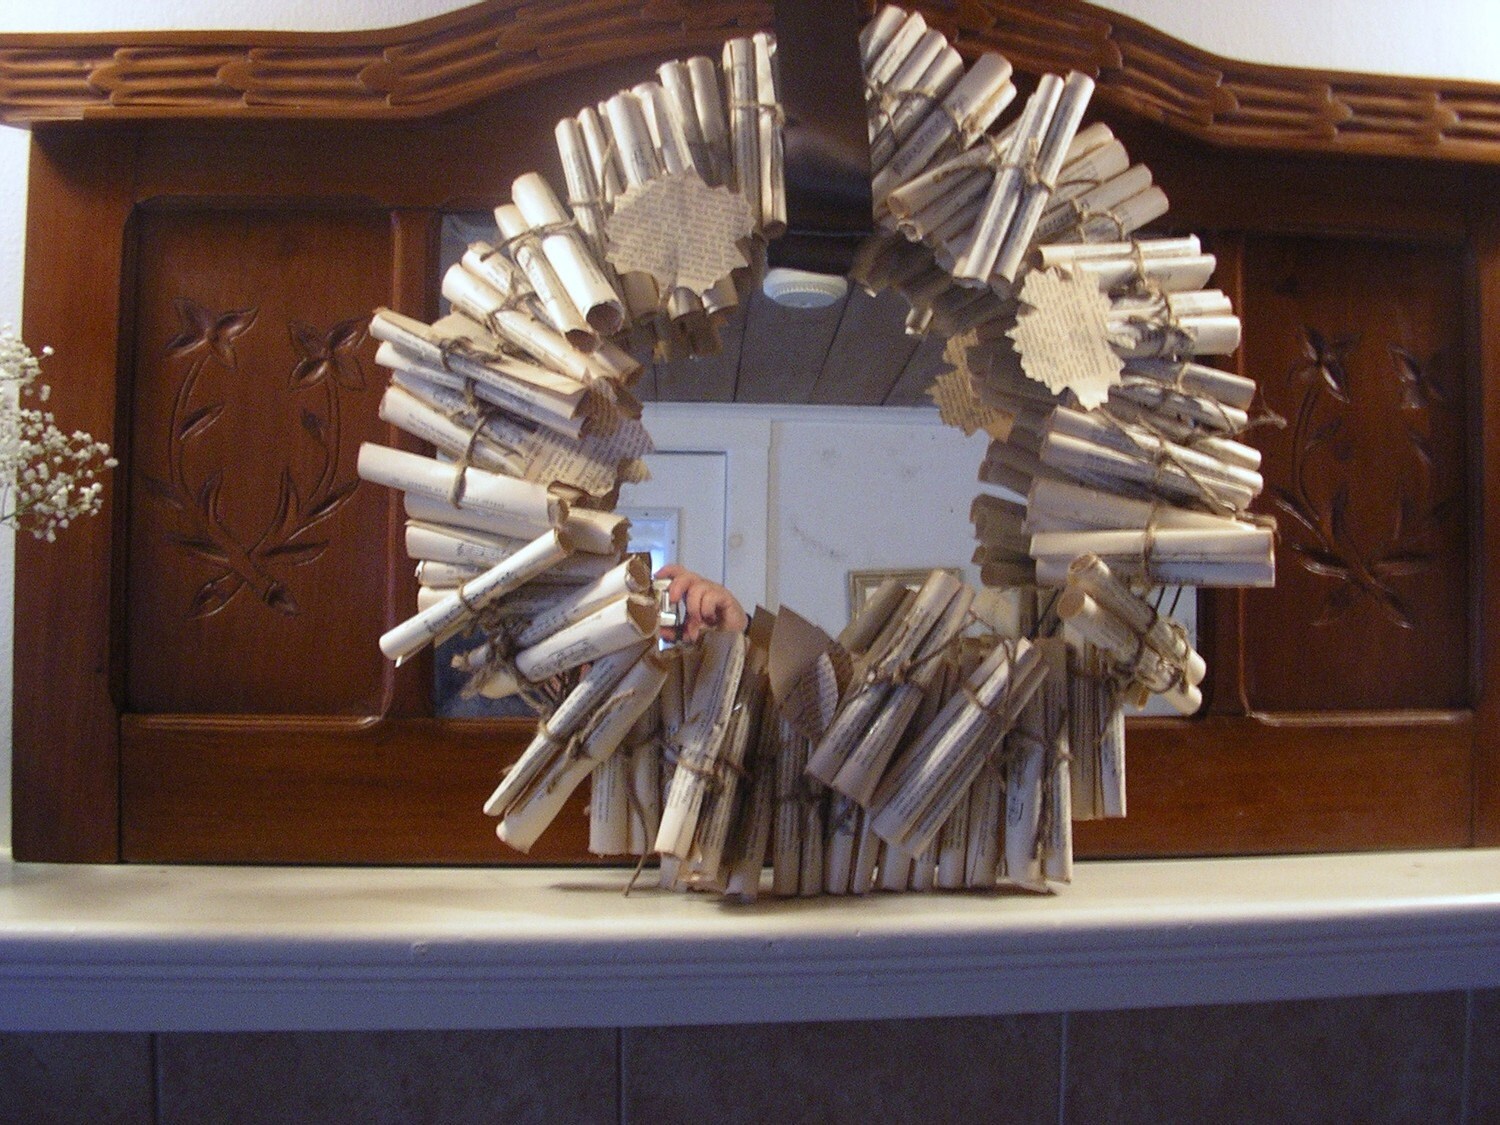
Environmentally friendly antique book wreath
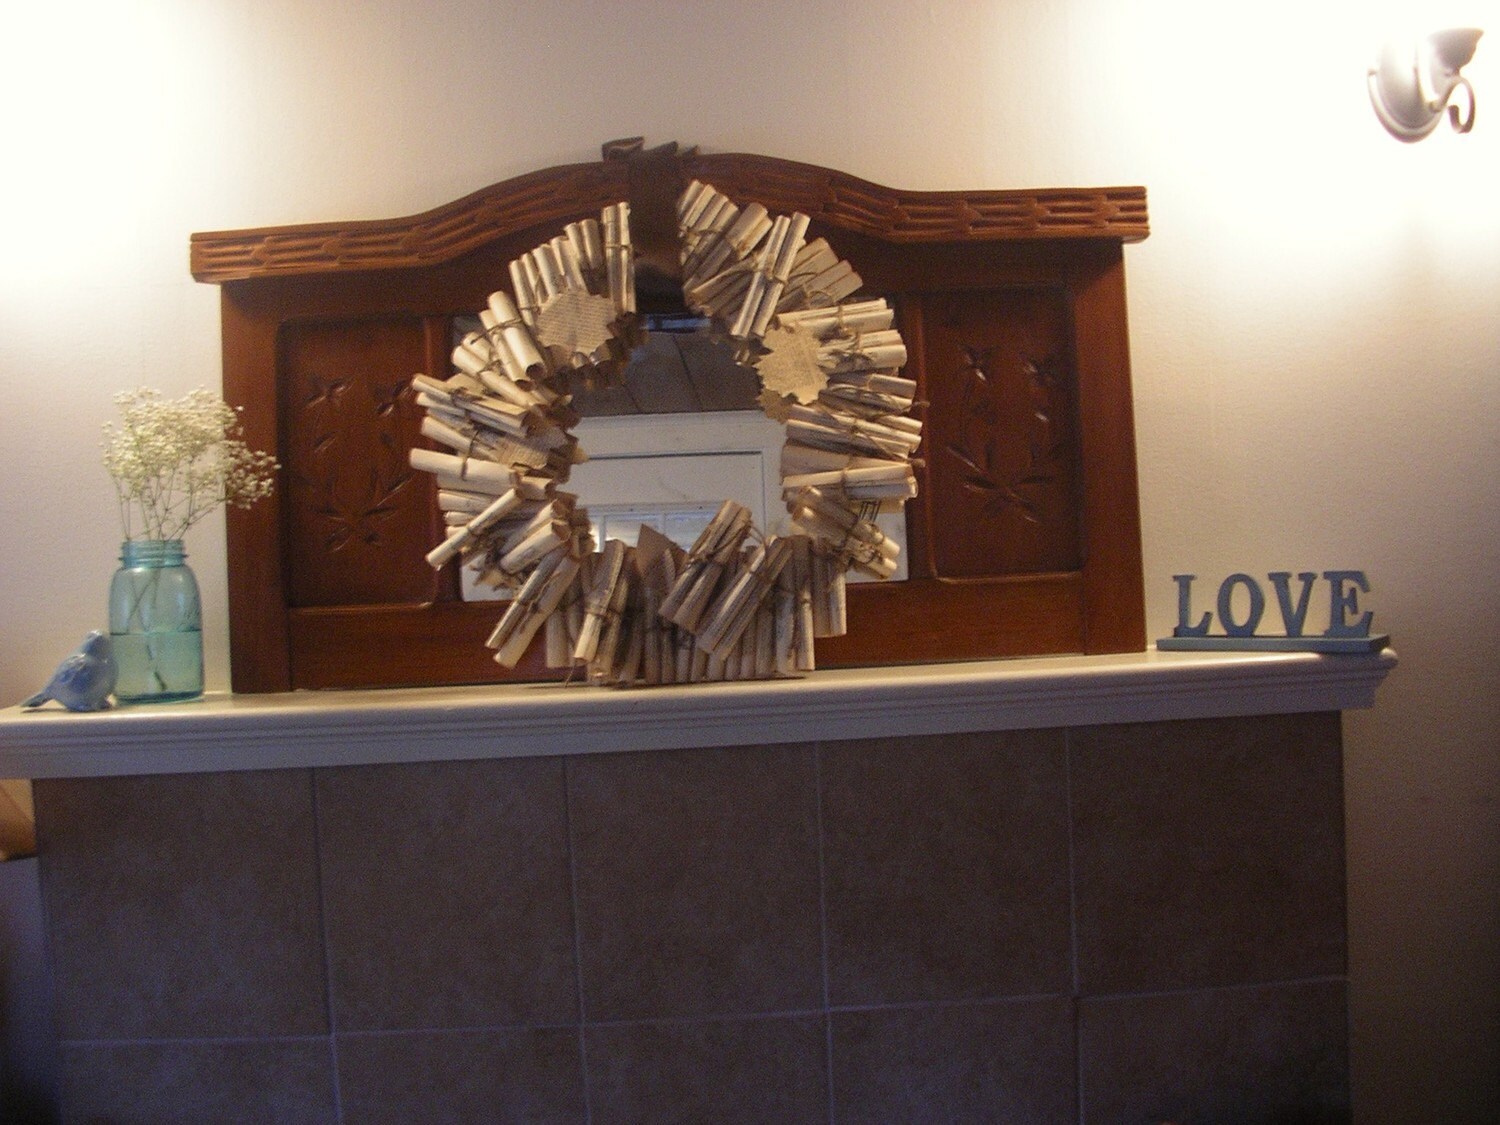
Finished wreath on my mantle

Fill the basket, my daughter helped me with this, she liked it while we watched TV.


Now you are ready to put your wreath together, this is not hard, but you need to be patient, it takes about one and a half hour, sometimes, more because you are not gluing but tying the rolls to the wire form, and arranging it.

After the first and second layer is all tied to the form, start gluing two or three rolls together and attaching them on top of others.
When your wreath looks full, you can add cut outs of the printed pages, like butterflies, hearts, flowers and glue them on top for some texture. I used a brown satin wide ribbon, but burlap ribbon looks very organic and nice also. Enjoy your wreath. (I need to warn you that this is a delicate wreath, it doesn't travel well). Remember the first and second layer is tied to the form with twine.
It looks stunning in your living room or office. Everyone admires my wreath when the come to my home. You will love it.
Hope you had fun.


I'm linking to  "Hoo's got talent"  party

Wednesday, July 27, 2011

Roses wreath Tutorial

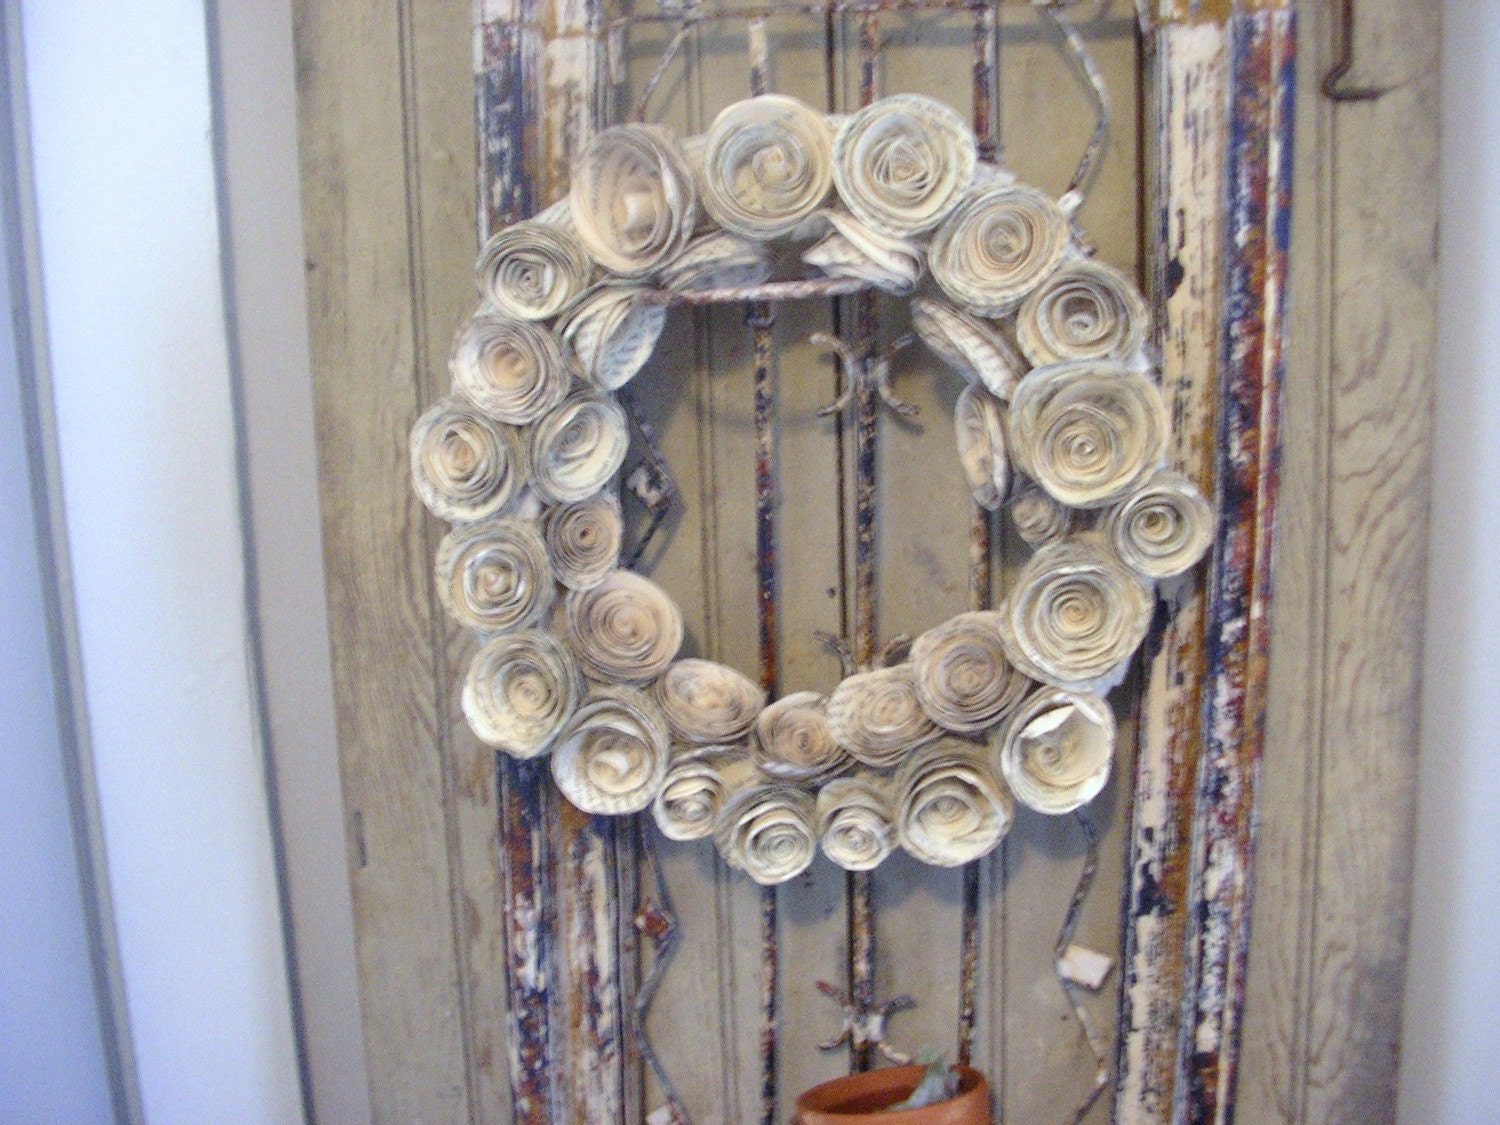
This antique book pages roses wreath is very impressive,this one is a 6" wreath, a small one, I had made bigger ones, and they look stunning. This one is perfect for weddings, small walls,
or mixed with other vintage frames. I will show you how I used this one in my home.You will need a Styrofoam 6" wreath, an old book, an


You need a 6" small Styrofoam wreath , a hot gun, an old book, or just a book from the thrift store.
I used a very old book, make sure the pages are not too fragile otherwise your spiral will be difficult to fold.

You need about `15 large roses and about 8- 10 tiny ones

First Step:  Make your roses, just put on your favorite movie, and make little and big roses.

Cut your pages into 5" squares for large ones and 4" for the small ones

Make a spiral , I made it with a sharpie for the picture, but you need to make them with a pencil. You can draw wider or thinner spirals (caution the thinner and larger the spiral will make smaller roses, just play with it first). I'm so used to make the roses that I don't trace them anymore, but when I first stared, I traced and traced, ha ha.

Cut your spiral, don't worry about the lines, it is suppose to be imperfect, remember this is an antique wreath.


Keep going to the end, this is an important place.

Don't cut the end, this is going to be the base of your rose. Be patient!! this is not a fast project. but oh so rewarding.

Now take YOUR SPECIAL TOOL  tweezers and tightly hold the end and begin rolling!!!!tight, very tight and slowly.

Don't let go you are almost done!!!!

Let go gently and play with the petals, look at your beautiful rose. Glue the base remembered and glue a loose petal, just play with it, gently


Place your first layer on your wreath, and make sure you like the way it looks. Then start gluing, and  "ouch" its hot, but we need the glue gun.

You are done with the first layer.
Book page roses wreath
This is the bigger version about 14" in diameter.

Second layer on the inside. For this part I usually hold the wreath and then place the little roses making sure I covered all the empty spots.  Remember you are going to hang this on a chair, pew, or wall so you don't see the back.

When you are all done placing the second layer, place a ribbon with a bow, or a piece of hemp thread, to hung it. Its up to you, YOU DID IT!! said "Dora"  You are done, GOOD JOB,

Magic, with Annie Sloan Chalk paintTUTORIAL

Hello friends:

Ready for some fun with chalkpaint. Let' get crakling.  It is like magic..
First of all, you need a few tools, average things we all have.:

1. a hair dryer
2. a paint brush
3. chalkpaint
4. gloves
5.dark wax


Apply the paint don't spread it, just apply it in a small place


DO NOT SPREAD THE PAINT OUT!!!!

Take your hair dryer and make little circles, and cook the paint
you will see little crackling going on, that is it.  You can see it better in this other color, I used a light color "Provence" hard to see.
Wait until the paint is dry, and apply the dark wax to reveal your crackle, very easy, and you don't need the glaze.


These pictures are before I applied the dark wax, sorry about the colors.
But you can really see the crackle in this one and on the others. I just did it on boards to show it.


You can see it better here.Then turn on your magic
Keep blowing in gentle circles over the paint 
and in a short time the paint will begin to crack.

We will have a great giveaway, keep reading my blog, we are CELEBRATING

Have a great night.

martha


Monday, July 25, 2011

Inspiration antiques (real stuff)

Hello Friends:
Hope you had a great weekend, I did, I was here:


The water was great, and the weather very very hot.


INSPIRATION:


This is a nice one, rusty, and very very old, I don't like the reproductions on line, just my opinion.
Some ideas on how to decorate with the later objects of the past. These are real antiques.


Pair of old benches with linen upholstery
Gustavian "Axen" chairs  cupboard and table 1950's. original
pair of Berdemeir chairs
old gurney table with burlap top use it anywhere.

very sweet old cupboard Gis

Gustavian cupboard 1800's


Art Deco birch table, just lovely

Very nice antiques, something to inspire us, mostly from Europe, and the Gustavian Sweedish style.

Ready for the Big Giveaway, you are going to love it, stay tune.

martha